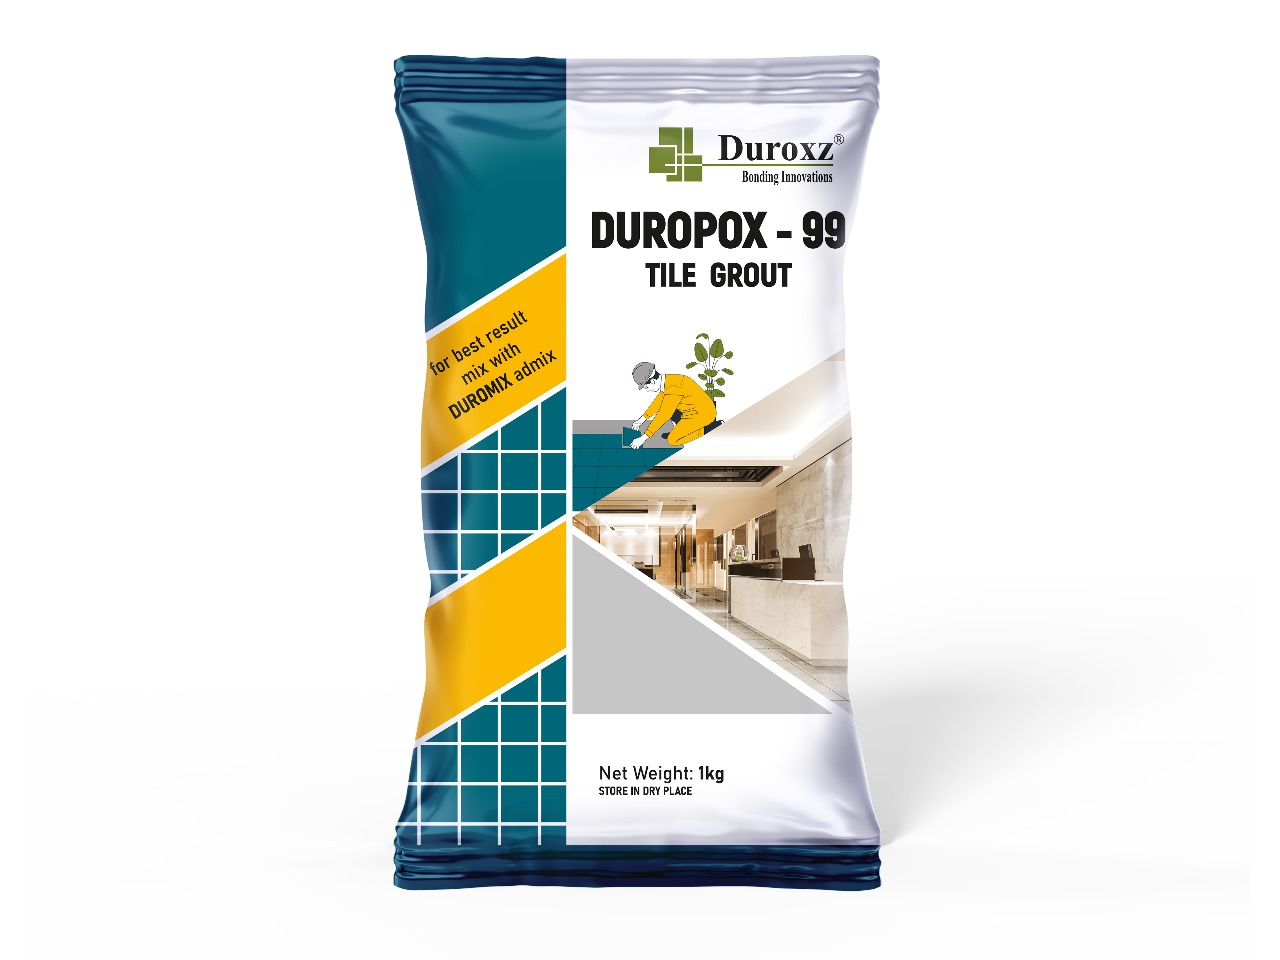
Polymer based, Un-sanded cement grout for interior & exterior, floor & wall joints of width l mm - 3 mm. As specialists in epoxy tile grout manufacturing, we've developed DUROPOX-99 to meet the most demanding commercial and industrial requirements. This professional-grade epoxy grout system delivers outstanding chemical resistance combined with superior mechanical properties, making it the preferred choice for challenging installations.


Designed especially for interior and covered exterior floor and wall joints of all types of ceramic tile, vitreous, semi-vitreous tile, glass mosaic tiles, metal tiles, precast terrazzo, engineered stone floors and natural stones. Recommended for Institutional and commercial general floor and wall areas.Can be mixed with Water or DUROMIX Polymer grout admix and used for filling the joints of width 1mm to 3 mm


Before starting to grout, remove debris in grout joints and lightly sponge the tile surface to remove dust and dirt. Do not clean tiles with acid cleaners. In case acid cleaners were used to clean the tiles, ensure to wash the area with plenty of water to effectively remove acidic particle remains from the joints before commencing grouting.Substrate temperature must between 60°F (16°C) and 90°F (32°C).
Mixing:Stir DUROMIX Polymer admix thoroughly before use. Use approximately 3.75 liters of water or DUROMIX for 10 kg of DUROPOX - 99 Grout powder. Place water or DUROMIX in a clean mixing container and add grout powder slowly. Mix by hand or with a slow speed mixer to a smooth stiff consistency. Potable grade of Water should be used for mixing with grout powder for best results.
Note: Use caution when polishing soft glazed tiles or polished stone. Contact DUROXZ technical services for large format tile or stone installations on exterior surfaces.
Dampen tile surface with water. Spread with a sharp, firm rubber grout float. Work the grout paste into the joints until completely filled. Use diagonal strokes to pack the joints. Ensure that joint is filled and grout is not just sitting on top (i.e. "bridging the joint")
Note: For fuller flush joints sprinkle a thin layer of dry grout powder over surface immediately after grouting. When grout darkens over joint, buff with burlap, carpet remnant or cotton rag to pack joint and clean face of tile.
Remove excess grout from the face of the tiles with the edge of the grout float. Hold the float at a 90° angle and pull it at a 45° angle diagonally across the joints and tile to avoid pulling out the material
Grout Secondary Cleaning :Remove remaining grout with a damp sponge (not wet) or a damp towel. Work diagonally to the joints. Allow to dry. When the grout joints are firm polish the surface with a coarse nylon pad or coarse cloth and minimal water.
Factory sealed packs of this product are guaranteed to be of first quality for 12 months for pouch product* if stored off the ground in a dry area. High humidity will reduce the shelf life of bagged product for 9 months.
Choose from range of colours available. Please refer the grout colour chart for choosing the colour required.
Please refer the coverage chart as it depends on the tile size, ioint width and depth.
Consult with Technical Services for specific exterior grouting recommendations. For industrial applications exposed to high concentra tions of food and mineral acids and to high heat, use DUROPOXY- l5K Epoxy Grout. Protect from exposure to acids and strong cleaners during service periods. Acidic cleaners can neutralize the cement-based grouts which leads to change of colour, cracking and powdering Not recommended for soft, polished marble or delicate glazed tiles.