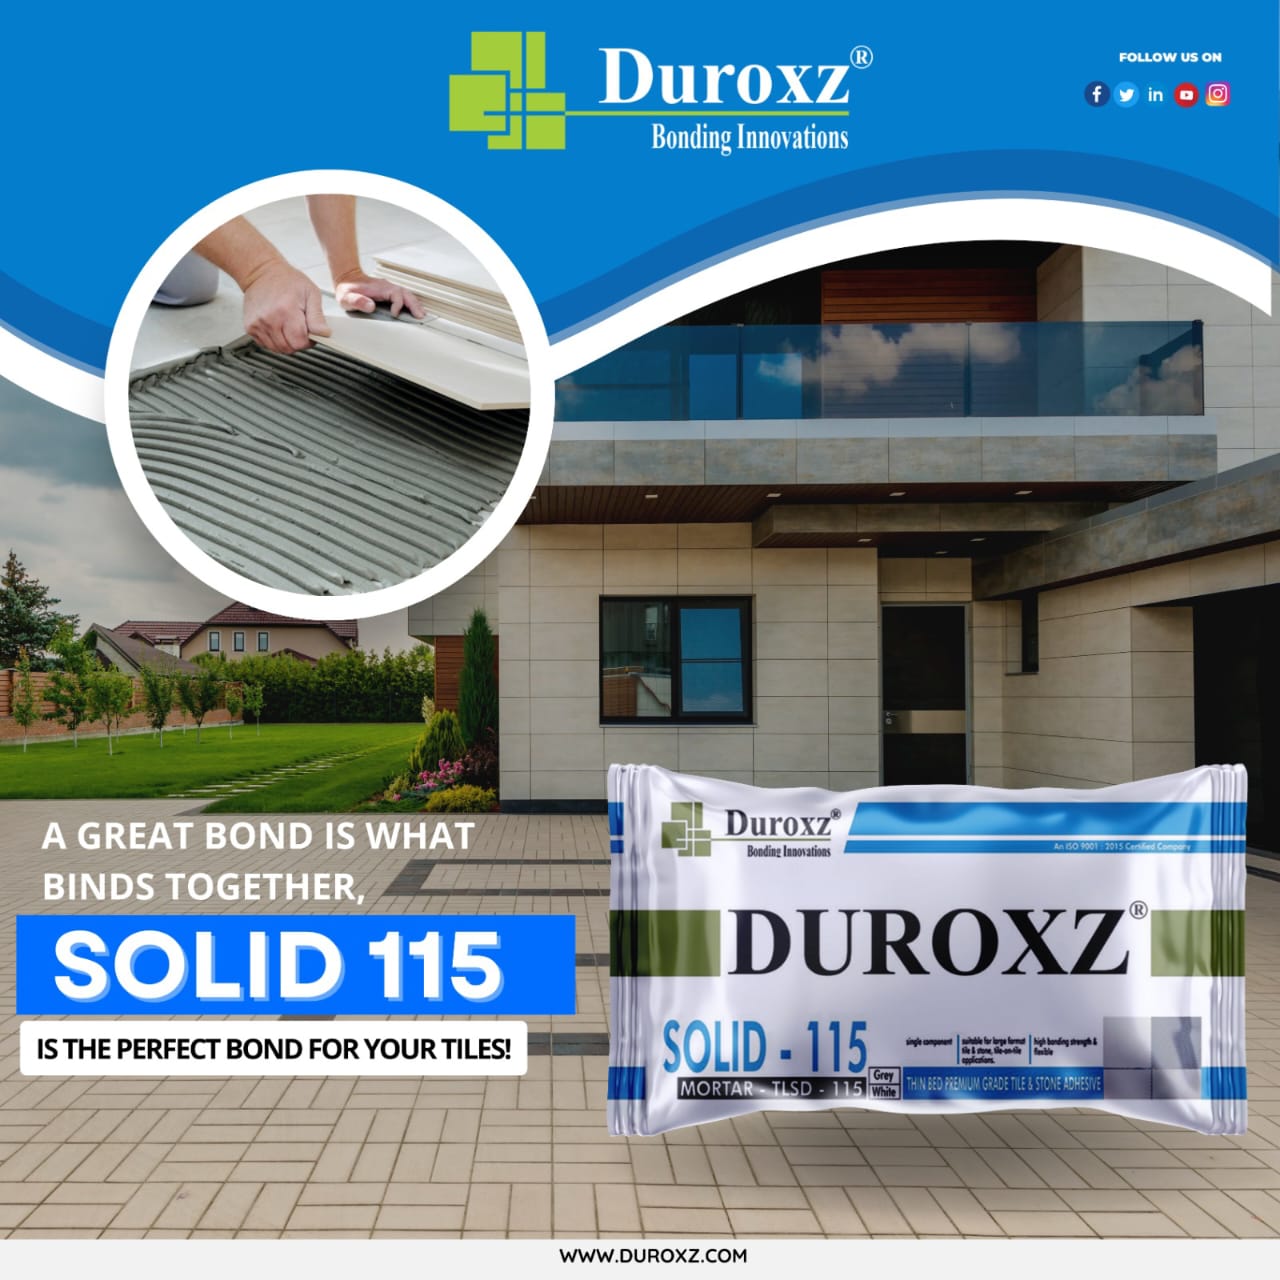
SOLID 115 Premium Floor and Wall Tile Adhesive


Designed especially for interior floor and wall installations and external floor installations of all types of ceramic tile, vitrified tile, precast terrazzo and natural stones over concrete and on a variety of cement-based substrates. Can be used upto a maximum 12mm bed thickness.


All surfaces should be between 10°C and 40°C and structurally sound, clean and free of all dirt, oil, grease, loose peeling paint, laitance, concrete sealers or curing compounds. Check the surface to be true to plumb. All slabs must be plumb and true to within ¼”(6mm) in 10 ft(3m). Rough or uneven concrete surfaces should be made smooth with Screed/Plaster material to provide a wood float (or better) finish. Dry, dusty concrete slabs or masonry should be dampened, and excess water swept off. Installation may be made on a damp surface. New concrete slabs shall be damp cured and 28* days old before application. *No minimum cure time for concrete slabs when thin- set mortar is mixed with latex additive. Expansion joints shall be provided through the tile work from all construction or expansion joints in the substrate. Do not cover expansion joints with thin set mortar. Follow ANSI Specification AN-3.8 “Requirements for Expansion Joints” or TCA Detail EJ171 “Expansion Joints”.
Mixing:Place clean, potable water into a clean mixing bowl. Add DUROXZ (SOLID-115), powder into the mixing bowl. Use approximately 5 – 6 L of water for 20 kg of powder. Mix by hand or with a slow speed mixer to a smooth, trowelable consistency. Allow adhesive to slake for 5 minutes. Adjust consistency if necessary. Remix and apply with the proper sized notched trowel. Note: Addition of DUROMIX latex admix*, partially or completely replacing water would enhance the bond strength, flexibility of the thinset mortar. * Contact DUROXZ technical services for large format tile or stone installations on exterior surfaces.
Note: Addition of DUROX latex admix*, partially or completely replacing water would enhance the bond strength, flexibility of the thinset mortar.
Apply adhesive to the substrate with the flat side of the trowel, pressing firmly to work into surface. Comb on additional adhesive with the notched side. Use the proper sized notched trowel to ensure full bedding of the tile. Spread as much adhesive as can be covered with tile in 10 minutes. Back butter large format tiles (> 12”x12”) to provide full bedding and firm support. Place tiles into wet, sticky adhesive and beat in using a beating block and rubber mallet to imbed tile and adjust level. Check adhesive for complete coverage by periodically removing a tile and inspecting bedding adhesive transfer onto back of tile. Use of spacers is recommended to provide grout joints between tiles / stones. The joint width shall be as per the recommendation of architect / engineer. Remove the spacers when the adhesive is set firm. If adhesive is skinned over (not sticky), remove and replace with fresh adhesive. For highly absorbent natural stones which may form a wet patch when adhesive is used, it is recommended to use suitableImpregnating sealers on all sides. DUROMIX Latex admix can also be used as a bottom coat for natural stones to prevent wet patches during installation. Please refer Technical Data Sheets of product intended for use for specific instructions of use
Specifications subject to change without notification. Results shown are typical but reflect test procedures used. Actual field performance will depend on installation methods and site conditions.
While installing tile/stone on the external floors, we need to provide the joints by creating spaces between the tiles/stones and fill them up with flexible grout. (In the absence of spacer joints, the surface movements can push tiles/stones away from the substrate causing de- bonding of tiles or stones) The exterior tile / stone installations are provided with joints (spaces) on the periphery of the area without allowing the tile / stone to be bound by the peripheral masonry work or plaster.