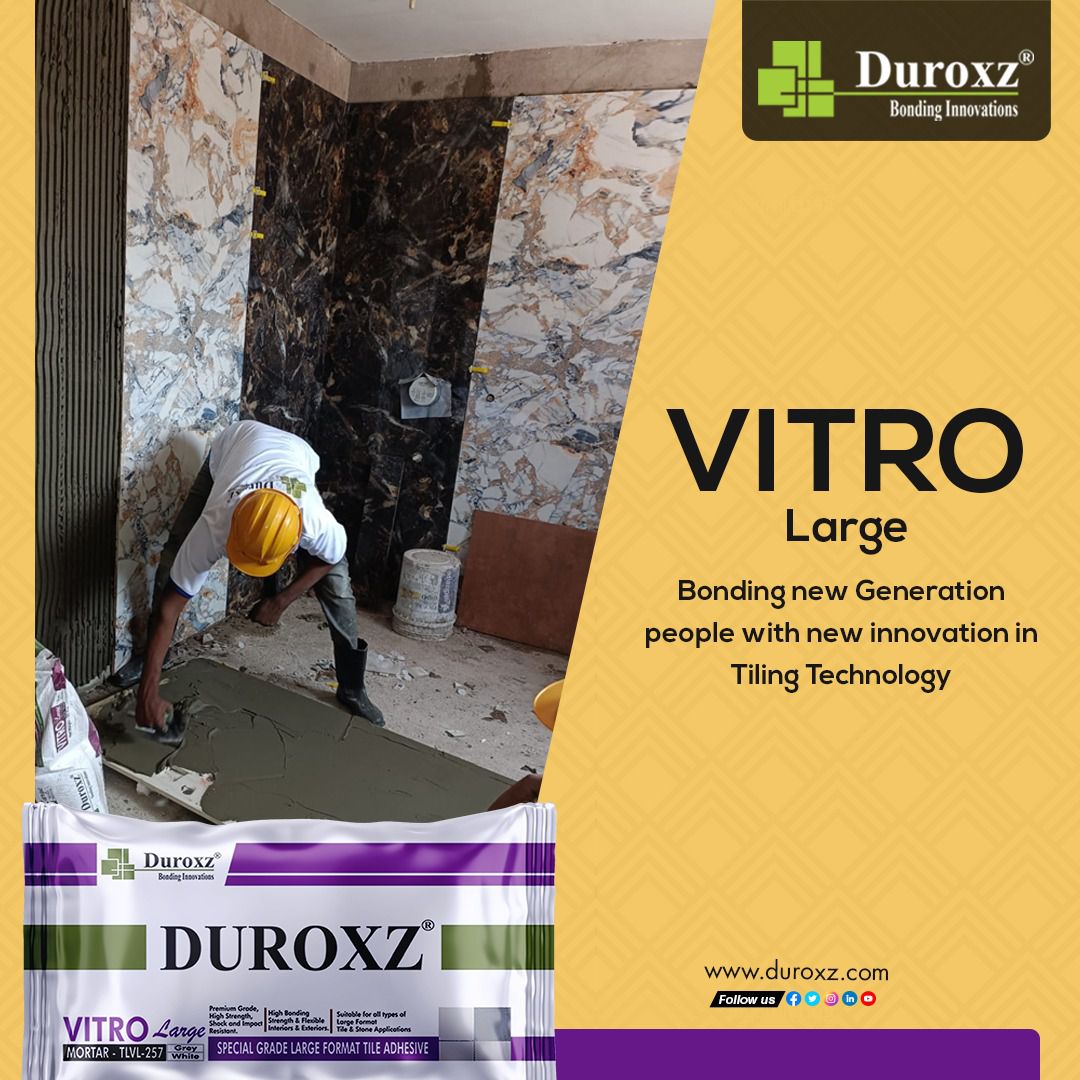
VITRO LARGE - 257
Consult the backer board manufacturer's data sheet for the specific recommendations and load bearing
capacity of specific board intended for use.
Features / Benefits
- Single component, just add water
- High strength, polymer modified
- Economical & Easy to use
- Bonds to various substrates
- Exceeds ANSI A118.4 shear bond strength requirements
- Complies with ANSI A 118.3, EN 13888,standards.
- Complies with EN/ ISO with a C4TES1 classification.
- Exceeds IS 15477:2019 - Type 4 TS1 Adhesive standards.
- Water and shock resistant
Application
Designed especially for interior and exterior floor and wall
installations of all types of huge size tile and stone, vitreous, semi-vitreous
tile, glass mosaic tiles, precast terrazzo and natural stones over concrete and
on a variety of substrates. Good underwater shear bond allows this product to be
used for wet areas like swimming pools, sauna, water bodies and washrooms. Can be
used for tile on tile applications and also as slurry bond adhesive in wet on wet
applications.
Packages
20Kg - Retail Pack
Substrates
- Concrete& Concrete Masonry
- MIVON Concrete, VDF, Tremix Concrete
- Cement Mortar Beds
- Cement Plaster
- Ceramic tile, Vitrified Tile and Natural Stone
- Glass mosaic tile
- Brick Masonry
- Cement Backer Board
- Cement Terrazzo
- Calcium Silicate Board
- Gypsum Wallboard
Consult the backer board manufacturer's data sheet for the specific recommendations and load bearing capacity of specific board intended for use.
Certification


Surface Preparation:
Distinctive Features
- Exceptional initial grab for heavy tiles
- Reduced tile lippage
- High deformability for stress absorption
- Extended open time for large area installation
- Thixotropic properties for wall applications
- Superior bed thickness capability
Installation Advantages
- Minimal slippage during installation
- Excellent coverage and spreading properties
- Reduced need for temporary support
- Enhanced workability for professional applications
- Superior gap-filling properties
All surfaces should be between 40° F(4°C) and 104° F(40°C) and structurally sound, clean and free of all dirt, oil, grease, loose peeling paint, laitance, concrete sealers or curing compounds.
Check the surface to be true to plumb. All slabs must be plumb and true to within 12mm in 10ft (3m). Rough or uneven concrete surfaces should be made smooth with Cement Based Mortar to provide a wood float for better finish.
Dry, dusty concrete slabs or masonry should be dampened and excess water swept off. Installation may be made on a damp surface. New concrete slabs shall be damp cured and 28* days old before application.
*No minimum cure time for concrete slabs when thin set mortar is mixed with latex additive.
Expansion joints shall be provided through the tile work from all construction or expansion joints in the substrate. Do not cover expansion joints with adhesive mortar.
Follow ANSI Specification AN-3.8 "Requirements for Expansion Joints" or TCA Detail EJ171 "Expansion Joints". For tile installation over Cement Backer Board: follow TCA installation details W244.
For all stone with a back protection mesh, it is important to remove the mesh first and also remove the epoxy layer by light grinding to ensure perfect bond with the adhesive
Mixing:
Place clean, potable water into a clean mixing bowl. Add VITRO LARGE - 257 powder into the mixing bowl and stir well with stirrer.
Use approximately
Grey - 5.5 - 6L of water for 20 kg of powder White - 6.0-6.5 L of water for 20 kg of powder.
Mix by hand or with a slow speed mixer to a smooth, trowelable consistency. Allow adhesive to slake for 5-
10 minutes. Adjust consistency if necessary. Remix and apply with the proper sized notched trowel.
Note: Addition of DUROMIX polymer admix*, partially replacing water would enhance the bond strength, flexibility of the thin-set mortar.
* Contact DUROXZ technical services for large format
a. Tile/Stone
Apply adhesive to the substrate with the flat side of the trowel, pressing firmly to work into surface. Comb on additional adhesive with the notched side. Use the proper sized notched trowel to ensure full bedding of the tile. Spread as much adhesive as can be covered with tile in 10 minutes. Back butter large format tiles (>12"x12") to provide full bedding and firm support. Place tiles into wet, sticky adhesive and beat in using a beating block and rubber mallet to imbed tile and adjust level. Check adhesive for complete coverage by periodically removing a tile and inspecting bedding adhesive transfer onto back of tile. Use of spacers is recommended to provide grout joints between tiles / stones. The joint width shall be as per the recommen dation of architect / engineer. Remove the spacers when the adhesive is set firm.
periodically relf adhesive is skinned over (not sticky), remove and replace with fresh adhesive.
b. Glass Mosaic tiles: (Paper Face mounted)
The VITRO LARGE - 257 adhesive shall be applied to the surface to be tiled with a notched trowel using a scraping motion to work the adhesive into good contact with the surface to be covered. Notch trowel with notches approximately 4mm is recommended to get a bed thickness of 1.5-2mm. V-notch of 3mm also can be used to get bed thickness of 1.5mm. Apply only so much that can be covered with tile within 10-15 minutes or while the adhesive surface is still tacky. The Glass Mosaic tiles shall then be set in place and beaten gently with mallet or grouting float to insure 100% full bedding. Tiles shall be aligned to achieve uniform joints and then allowed to set until firm. Excess adhesive must be cleaned from the surface of the tile with a wet cloth or sponge while the adhesive is fresh and has not hardened.
After the tiles are set firm, the face of the sheets of front mounted glass mosaic tiles shall then be dampened and the face mount paper can be removed.
For Glass mosaic tiles which are mesh backed, use resin-based adhesive for installation. The cement based adhesives are not compatible with resin backed (mesh backed) tiles.
While installing tile/stone on the external walls and floors, we need to provide the joints by creating spaces between the tiles/stones and fill them up with DUROPOX - 99 cement based grout mixed with DUROMIX admix or SUPER POWER GROUT. (In the absence of spacer joints, the surface movements can push tiles/stones away from the substrate causing de bonding of tiles or stones)
The exterior tile / stone installations are provided with joints (spaces) on the periphery of the area without allowing the tile / stone to be bound by the peripheral masonry work or plaster.
Hot & Cold Weather Tiling:
Please refer technical document on Hot & Cold weather tiling
Grouting:
Grout installation shall be commenced after a minimum of 24 hours curing time at 70°F (21° C). Grout with DUROPOX-99 Unsanded grout or Sanded Grout mixed with DUROMIX Grout Admix.
For maximum stain resistance of Internal spacer joints applications, use DUROPOXY - 15K Stainfree Grout. For maximum stain resistance of External spacer joints applications.
The mix density of DUROPOXY-15K Epoxy
grout is 1710 kg /m3.
Colour:
CGrey and white
Coverage:
Approx 25-30 sft per 20kg bag with 12mm x 12mm square notched trowel for average bed of 8mm.
Coverage will vary depending on trowel notch size, type and size of tile and substrate smoothness and evenness.
Working properties at 70° F (21° C)
VITRO LARGE-257 Premium Grade Adhesive mixed with Water
Specifications subject to change without notification. Results shown are typical but reflect test procedures used. Actual
field performance will depend on installation methods and site conditions